
ADD NEW PRODUCT
For adding your own products through the user interface, follow the procedure given below:
- Go to Internet Explorer or any other browser of your choice and type the admin URL of your store. The admin URL is admin.storename.buildabazaar.com. The Login page opens.
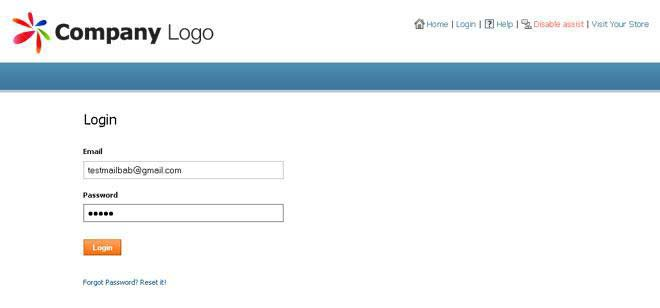
- Enter the registered email address and password in the appropriate boxes and click on Login. The Webstore Admin Panel page opens.
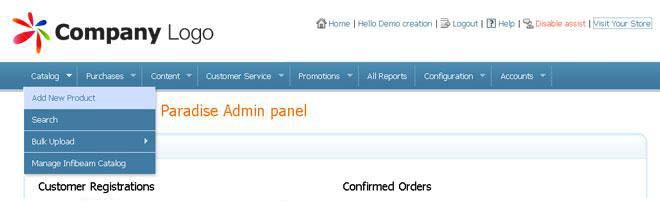
- In the Admin Panel page, click on Catalog and then select “Add New Product”. The Product Category page opens.
- Infibeam provides you an added option to use their catalog information for your own products. This feature saves you from the burden of creating and uploading product details such as images and price tags. Choosing product details from Infibeam is only available if you have chosen to sell Infibeam products on your store i.e. you have chosen the Infibeam navigation style.


To use product details from Infibeam:
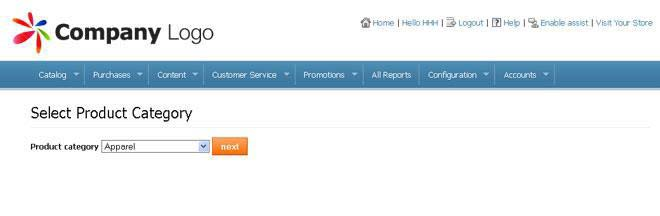
- On the Catalog drop down menu, click on Add New Product. The Select Product Category page opens.
- In the Product Category list click the relevant product category.
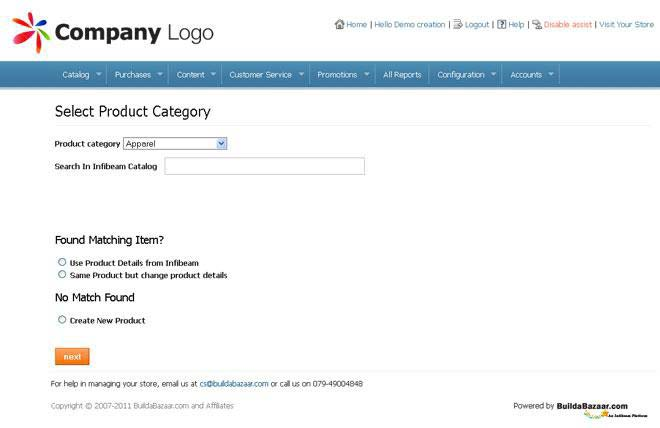
- In the Search in Infibeam Catalog search bar, type the desired product name that you wish to sell on your webstore. A drop-down list appears.
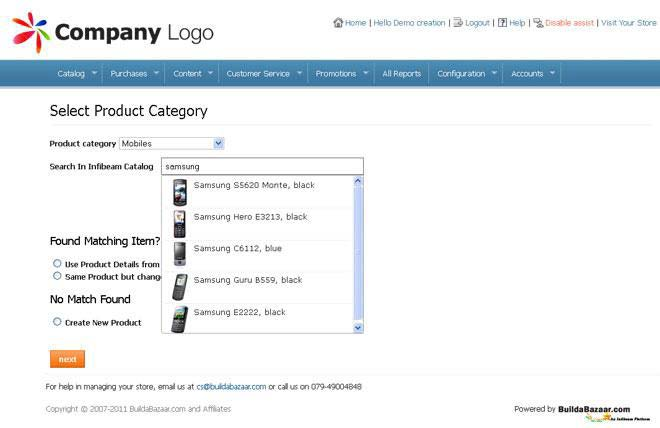
- Select the desired product. The product description appears.
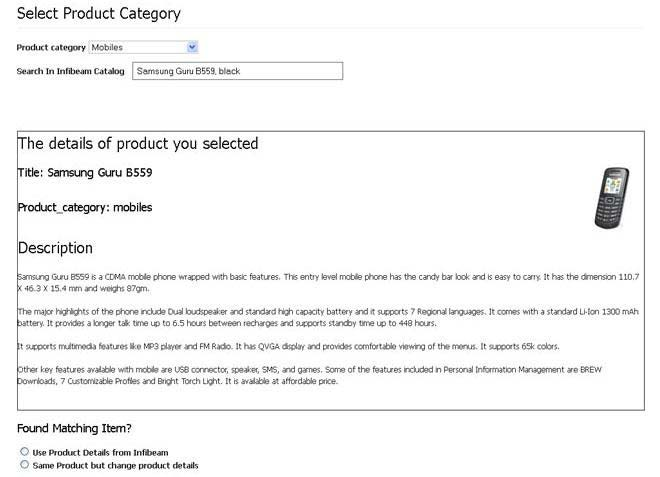
- Click on the “Use Product Details from Infibeam” button and then click Next. The Product Description page opens.
- Enter all the details related to the creation of the product Infibeam also provides you the option to sell your own products on your webstore by using Infibeam catalog but changing some or all the product description according to your needs. This is known as Catalog Cloning. If you choose to clone an Infibeam catalog, any future catalog updates by Infibeam will not reflect on your store.


To do Catalog Cloning:
- Follow the procedure detailed above for using Infibeam product description.
- Under Found Matching Item? Click on the Same Product but Change Product Details and then click on Next. The Product Description page opens.
- Enter all the details related to the creation of the product.
To select a product category:
- In the Product Description page, click on the arrow on the Product Category drop down list box.
- Choose the desired product category and click Next. The product description page opens.
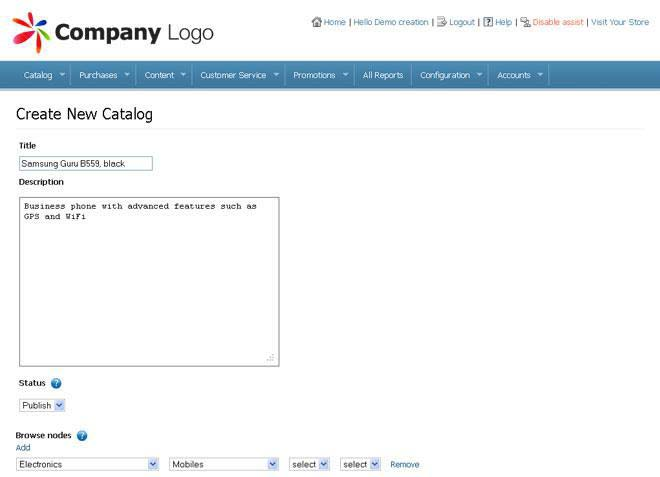

To enter product details:
- In the Product Description page, enter a title for the product in the Title box. The figure below depicts the title description as shown on a webstore page.

- Enter the description of the product in the Description box.
- Click on the arrow under Browse nodes drop down list box to change the browse node displayed on your webstore.

Adding multiple Browse Nodes:
You also have the option to add multiple browse nodes. Adding multiple browse nodes displays the product on multiple pages of your webstore. To add multiple browse nodes:
- In the Product Description page, click on Add under browse nodes. A new set of drop down list boxes appear.
- Click on the arrow under the relevant drop down list box and select the product category. For example, in the figure below, the sub category selected is diwali gifts under the gifts category. (Image)

In the Properties section:
- Enter the Make and Model of the product in the appropriate fields. Make refers to the company name and Model specifies the product name with the model number, if any.


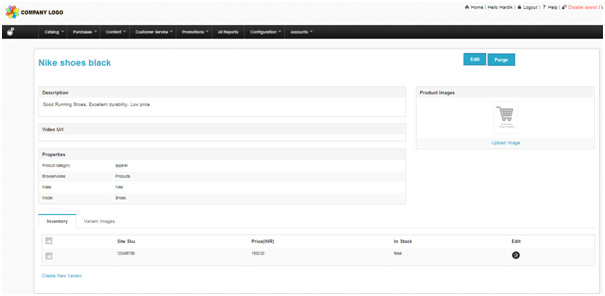
In the Inventory section:
- Enter the Stock Keeping information in the SKU box. The Stock Keeping Unit or SKU number is a unique tag which is used by the store keeper to identify a product.
- Enter the base price in Rupees in the Base Price box.
- Enter the value of discount in the Discount box and click on the arrow in the Discount drop down list box to select the type of discount offered. For Example: If a product is priced at Rs. 100 and you wish to sell it at Rs.95, enter 100 in the Base Price box and 5 in the Discount box. This means you are offering a discount of 5%.
Alternatively, if you select a Fixed Discount in the drop down list, the number which you will enter in the discount box will be the amount in Rupees by which the product is discounted. For e.g. If a product is priced at Rs.120 and you wish to sell it at Rs.105, enter 120 in the Base Price box and 15 in the Discount box. This means you are offering a discount of Rs.15 - In the Availability drop down list box, click on the arrow to enter the availability of product in days or weeks. This informs the customer about the time required for delivery of the product.
- Enter the shipping cost, if applicable, in the Shipping Cost box. Shipping cost is the cost involved in delivering the products to the customer. Enter the details of warranty offered on the product in the Warranty box. Warranty details include the duration of warranty offered on the product and the type of warranty e.g. Manufacturer or seller and so on.
- Select the Track Inventory check box if you want to view the stock position for the specified product. Selecting the track inventory check box displays the product as out of stock when all units in inventory have been sold. If you don’t choose this option, the product will never be displayed as out of stock, even if all units in inventory have been sold.
- Enter notes, if necessary, in the notes box. Notes are information about the product or any other detail which is limited only for your reference.

Notes:
- Filling up the value and type of discount is mandatory only if you want to offer any discount for the specified product. In case you do not want to offer any discount, please leave the fields blank.
- Selecting the Track Inventory check box enables you, as a webstore owner, to view the stock position for the specified product. In case the product is out of stock, the same is also displayed on the search page and product details page. If you do not select the Track Inventory check box, the product will never be displayed as „out of stock‟ even after all units in inventory have been sold.
Uploading images of the product
Buildabazaar allows you to upload images of the products on your webstore. To upload an image of a product:
- In the Product Creation page, click Upload Image and then click Choose File.
- Select the desired picture from the folders on your system and click Open.
- Click Add. The image of the product is uploaded. The image colour should be encoded in RGB format (and NOT in CMIK format). Also, the background should not be transparent.
You can upload multiple images for the same product by repeating the procedure explained above.

Adding Variants:
A single catalog item may or may not have variants. A variant is defined as a product which different only on certain product attributes e.g. different sizes or colors of the same shoe are different variants of the same product i.e. the shoe. If you only have one variant for a product you can choose the option name and fill in the required option values. The figure below depicts a shoe with only one attribute - that is blue.

As mentioned, a product can have multiple variants based on product attributes such as size, colour, and so on. You can add multiple variants of a product on your webstore.
To add a variant:
- In the Product Creation page, click Create New Variant. The Create Variant page opens.
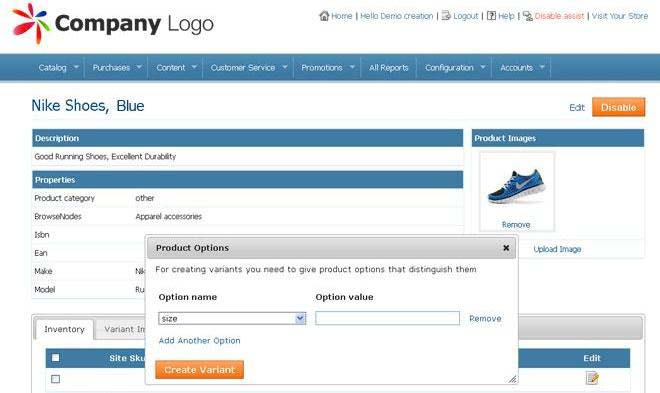
- In the Option Name drop down list box, choose the option name that varies across variants. For example: color and size.
- In the Option Value box, enter the Option values for these option names. For example: A mobile phone may be available in different colors and different sizes.
- Click Create Variant. The product description page is displayed with the variant. Additional images can be added to the variants created.
- Click Add Another Option to add multiple variants.

Note: There can be cases where the product has multiple option names and multiple option values entered for the same catalog. For instance, a shoe can be available in sizes 4, 5, 6, 7, 8, 9 and 10. Also for each of these sizes there are three colors available black, white and green. Thus, this shoe will have 21 variants in all i.e. 7 sizes x 3 colors.
You also have the option to edit the variant created.
To edit the variant:
- Click Edit on the Variant Description page. The Edit Variant page opens as shown below.
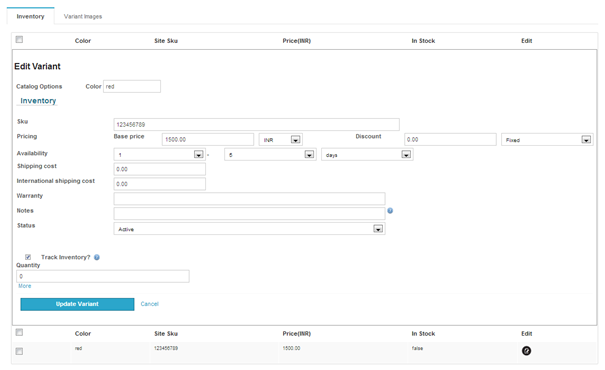
- Edit the necessary details and click on Update Variant. The details get updated in the appropriate fields.

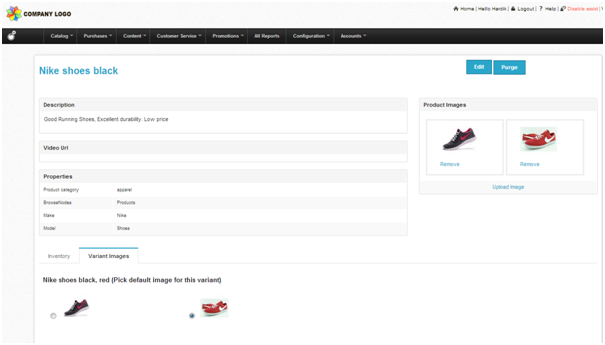
Choosing default images for the variants
You can choose a default image for the variant created. Choosing a default image for the variant will display the product with the relevant image selected. For example: The variant chosen for Nike Shoes is black. This means that the variant image with respect to its attribute values must be selected. If a default image for the variant is not chosen, the original catalog image is displayed against all variants.
To choose the default image:
- In the Product Description page, click Edit.
- In the Variant Images tab, click the button present under the relevant image to choose the default image.
- Click Update to save your changes.

You also have the option to edit the product description added by you. To edit product description:
- Click Edit on the product description page. The Product Information Editing page opens.
- Make the required changes and click Update to make the changes or click Cancel in case you do not want any changes.


